Stuck inside? Most of us are and for anyone who needs to continue posting content, I’m sure some are wondering how to pull off great photos indoors. For this lesson, it will take some common knowledge of working a camera.
Step 1: Find your model.
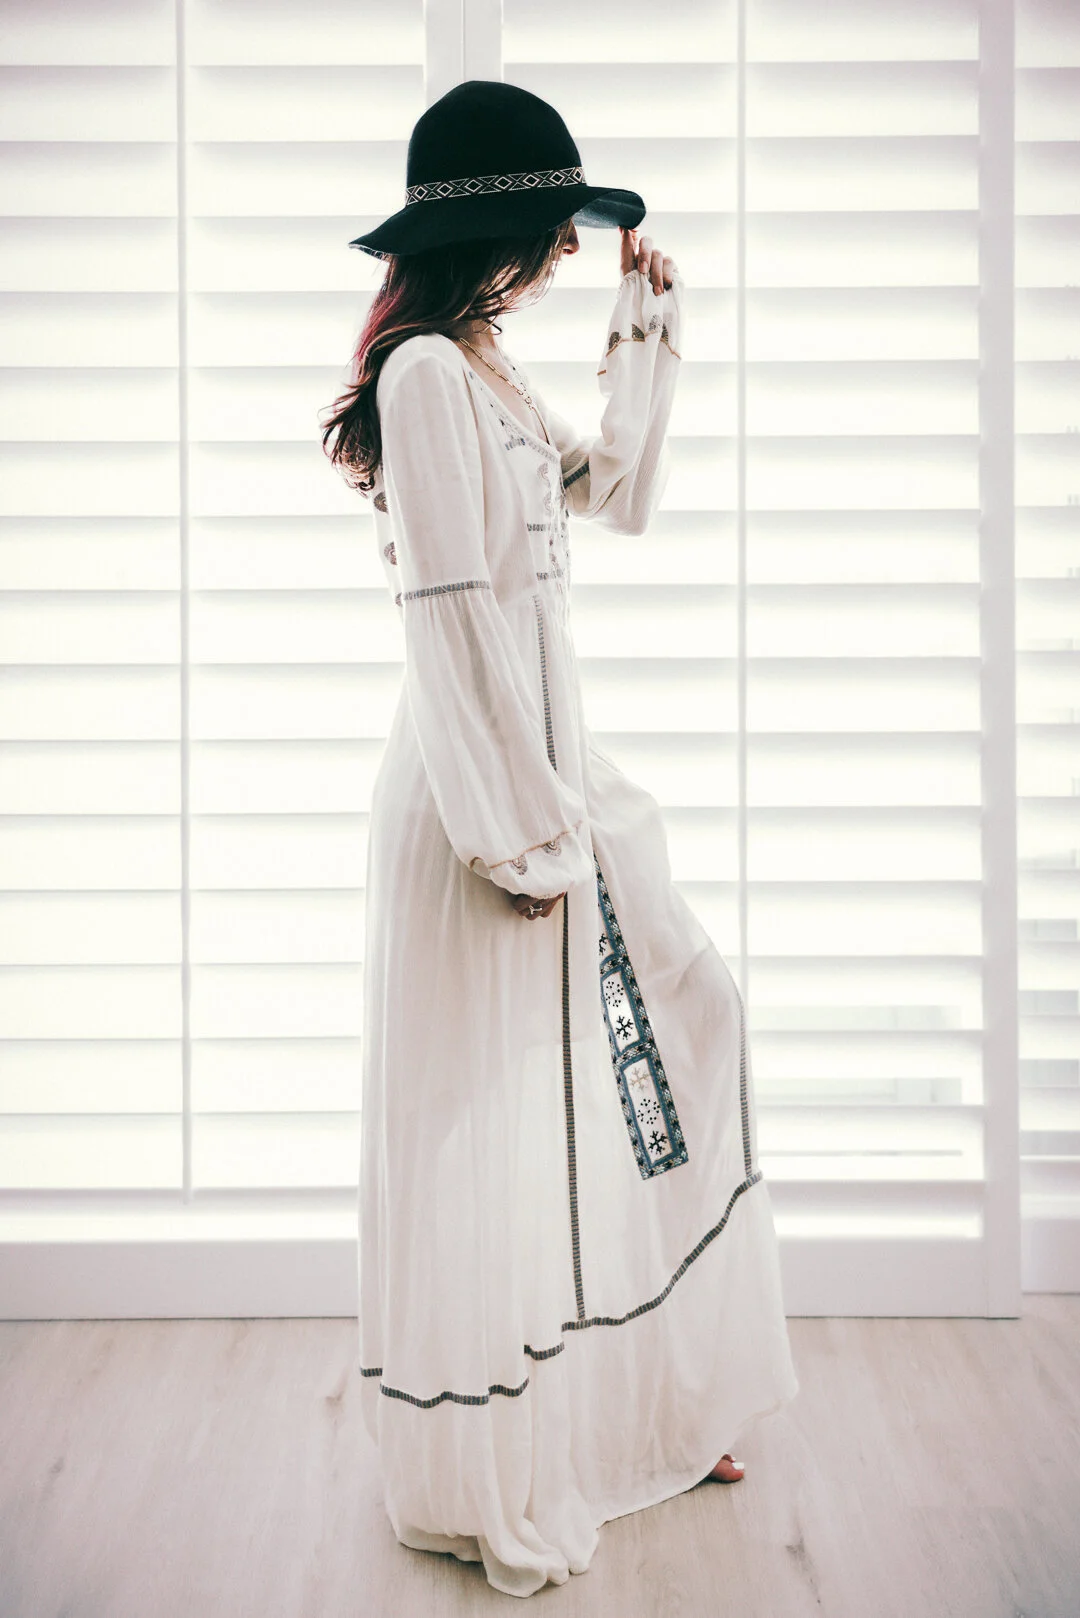
Step 2: Find a window, preferably a large window with the ability to either open blinds/shutters or tie curtains to the sides. Tip, the more translucent the curtains, the more light that will shine through, this is good.
Step 3: Open the window completely open or drape the curtains in a pleasing manner to the sides. Let that light shine through, baby!
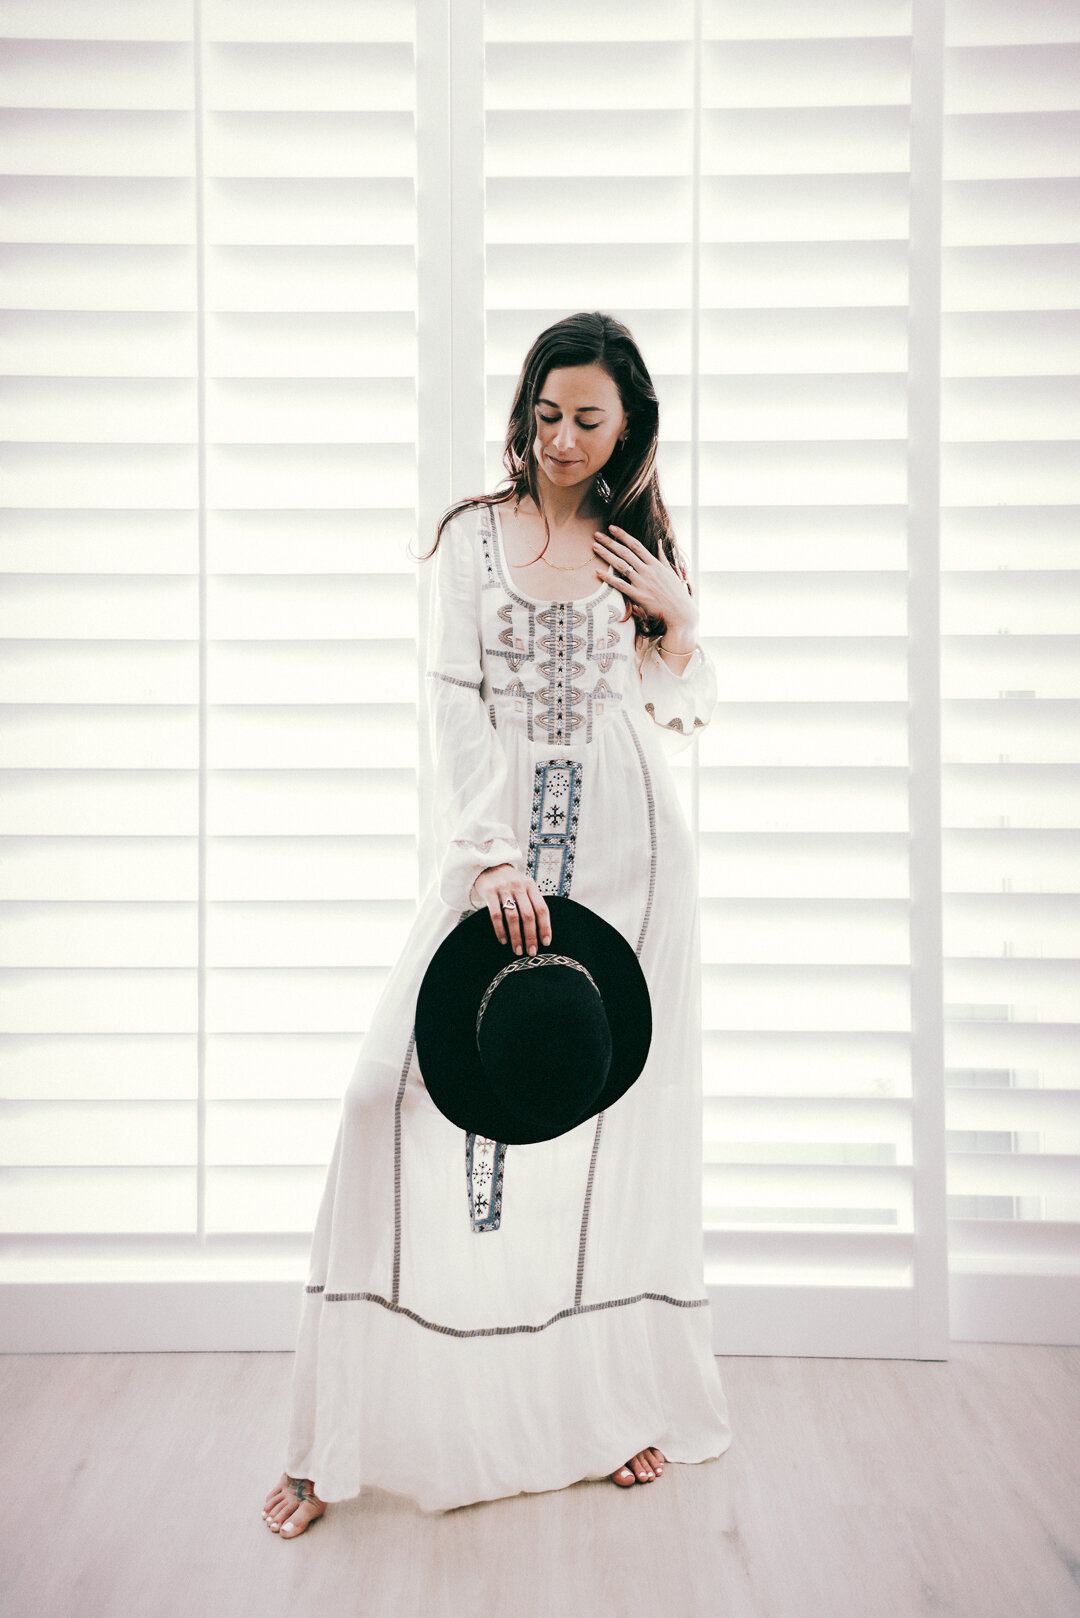
Step 4: Place your model in front of the camera (I prefer starting with them placed in the center).
Step 5: Take a test shot and see where you’re at.
Step 6: Is your picture too dark? (This next step will require that photography knowledge I mentioned earlier.) You have a few available options. First, what is your aperture set at? You’re going to want to set it between 1.4-2.8. Why? This allows the background to blur out at its maximum ability as well as increasing the amount of light. Did this still not fix your problem? Let’s try the shutter speed, normally mine is set at 1/250 so my subject is without a doubt, in focus with little blur. However, we need light, so let there be light! In photography, at many times you’ll find yourself thinking on the spot and working with what you have at hand, sometimes this means you’ll have to step outside of your comfort zone to get the shot. The lowest setting I set my shutter speed is 1/60 and this has to be done with concentrated breathing and timing or your subject might not be in focus. Before jumping from 1/250 to 1/60, work your way from 1/250 - 1/125 - 1/60, you might not need to compromise so much because we still have one more trick to pull this off.
Step 7: ISO can save the day but should not be your go-to problem solver, it should be your last step. Why? This will preserve the quality of the image by reducing the amount of noise in an image. If your image is still too dark and you’ve followed all of the above steps, pull up your ISO settings, mine is always set to its native 200 ISO. Every camera model is different, some better than others so this step will work better for some than others. You typically don’t want to increase your ISO past 800 in low-light conditions because this is going to start showing noticeable grain in your image. However, sometimes you have to get your shot or it could be just your luck, it works just fine. My camera can push up to 1600 ISO before the grain gets noticeable. Like with the shutter speed, don’t just jump to the highest number, you might not need to, so keep increasing until you have the proper exposure.
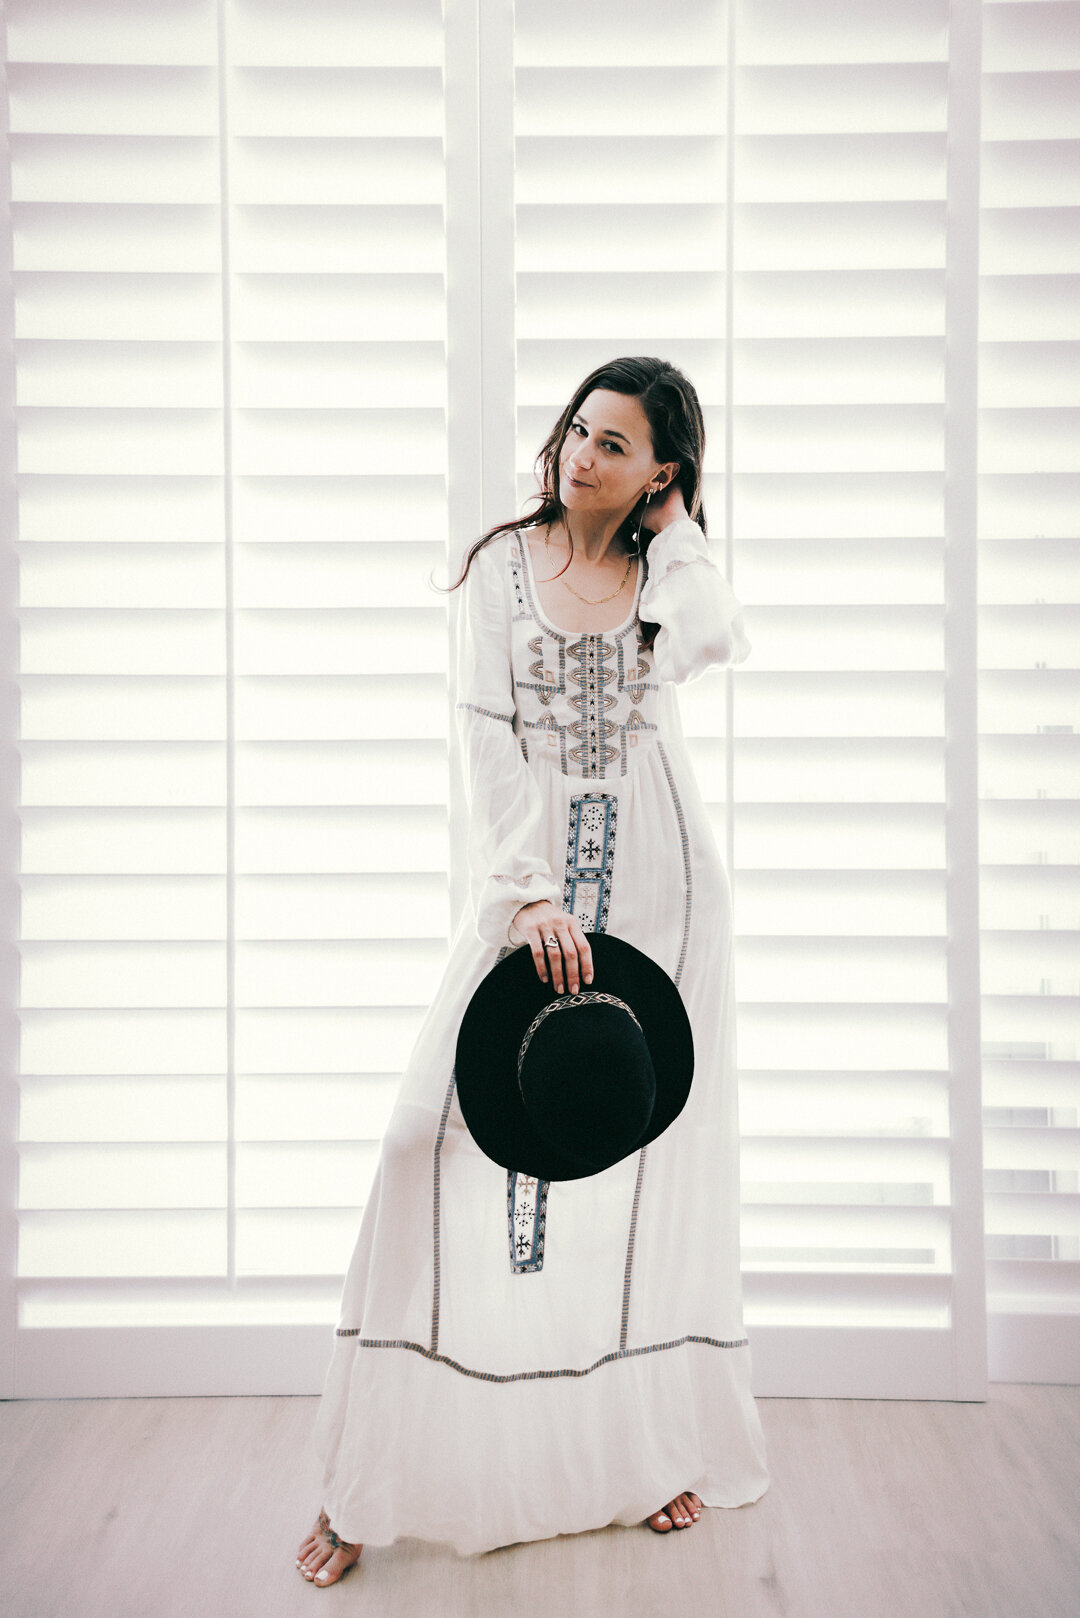
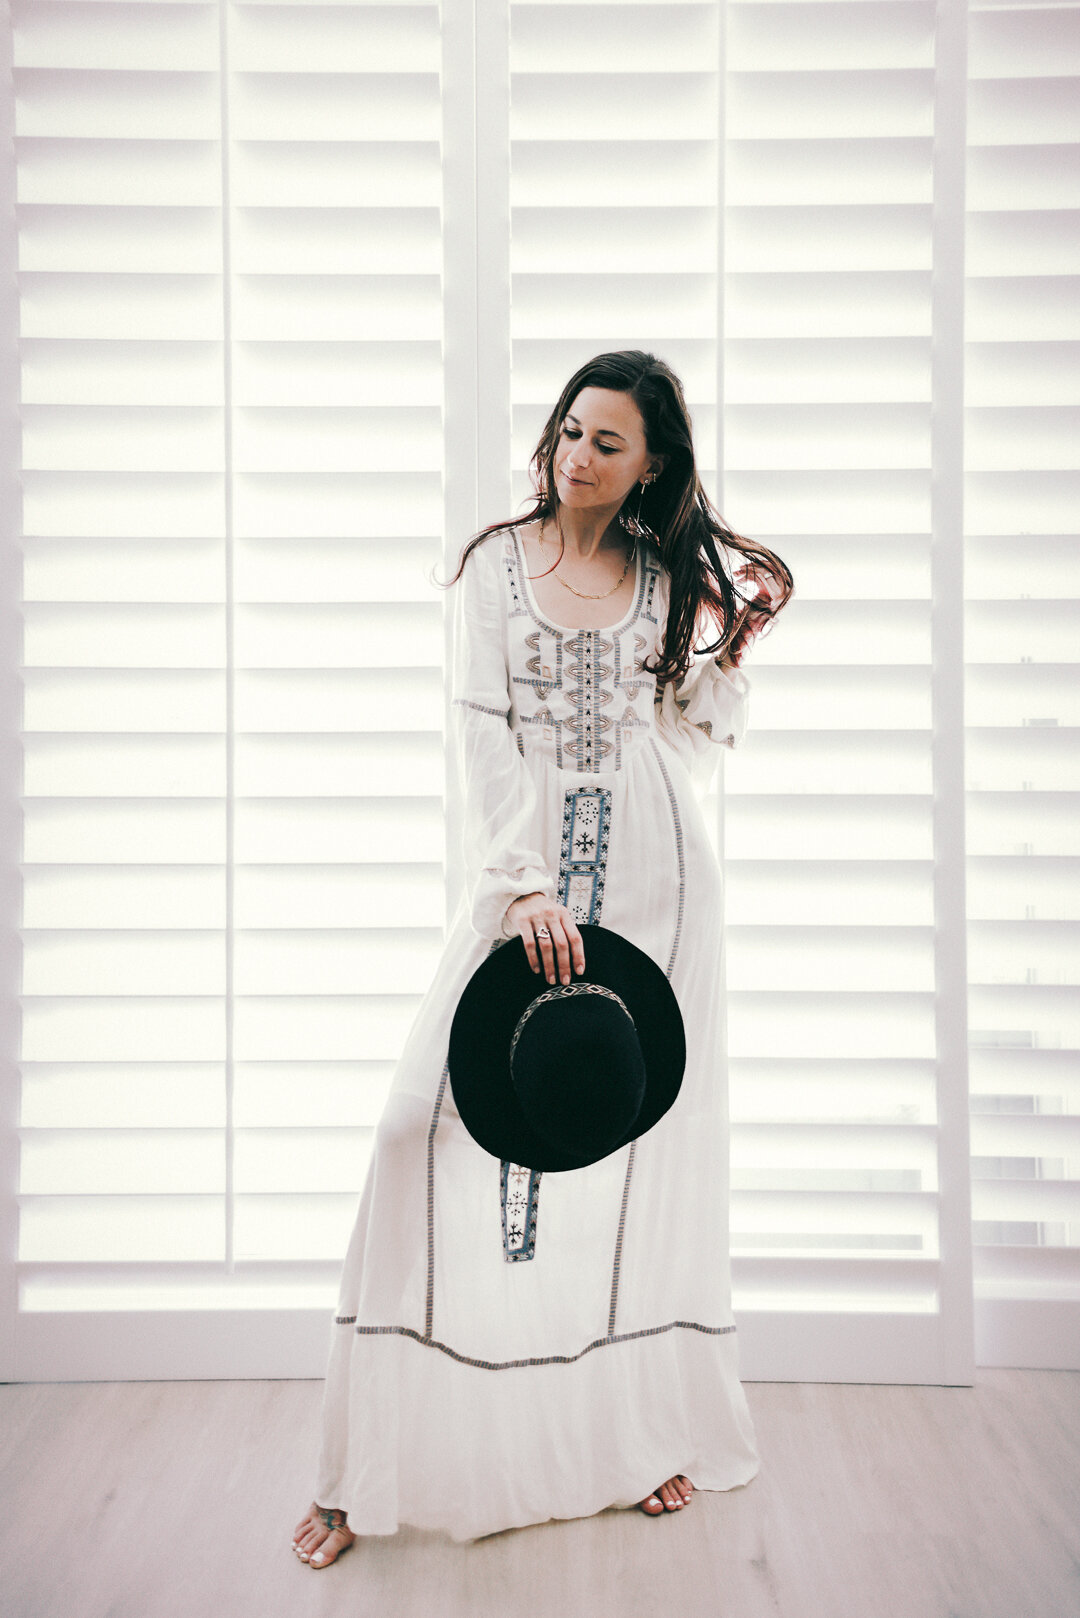
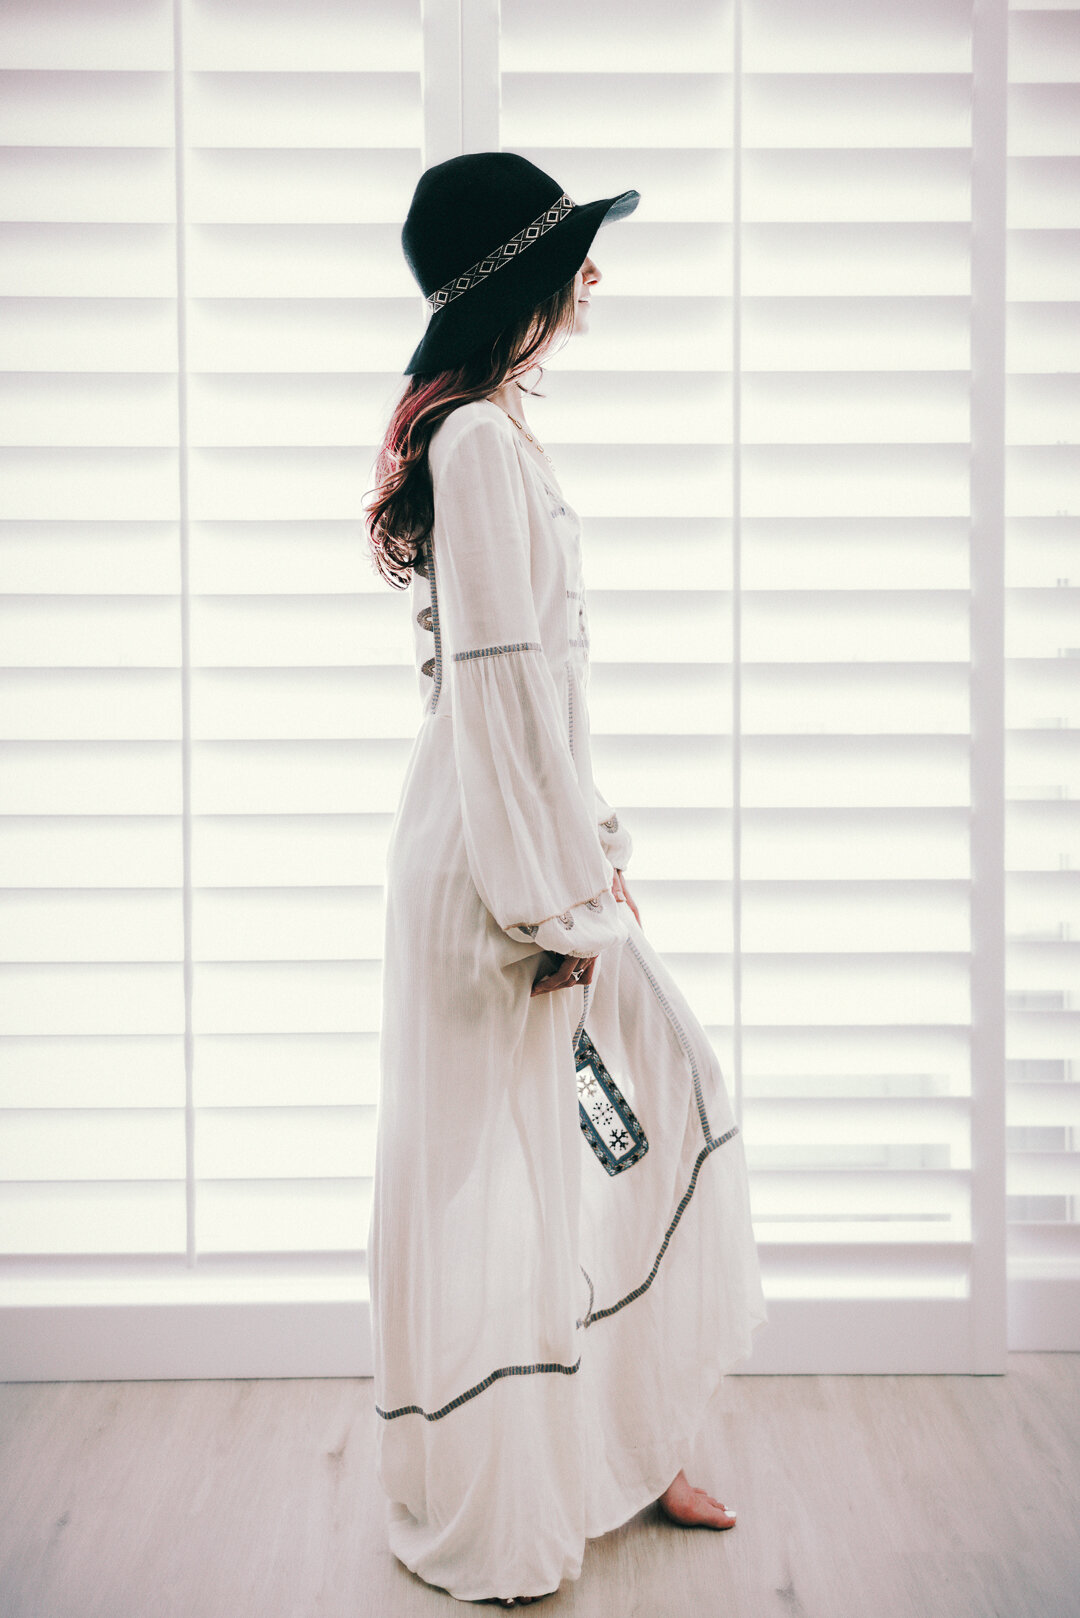
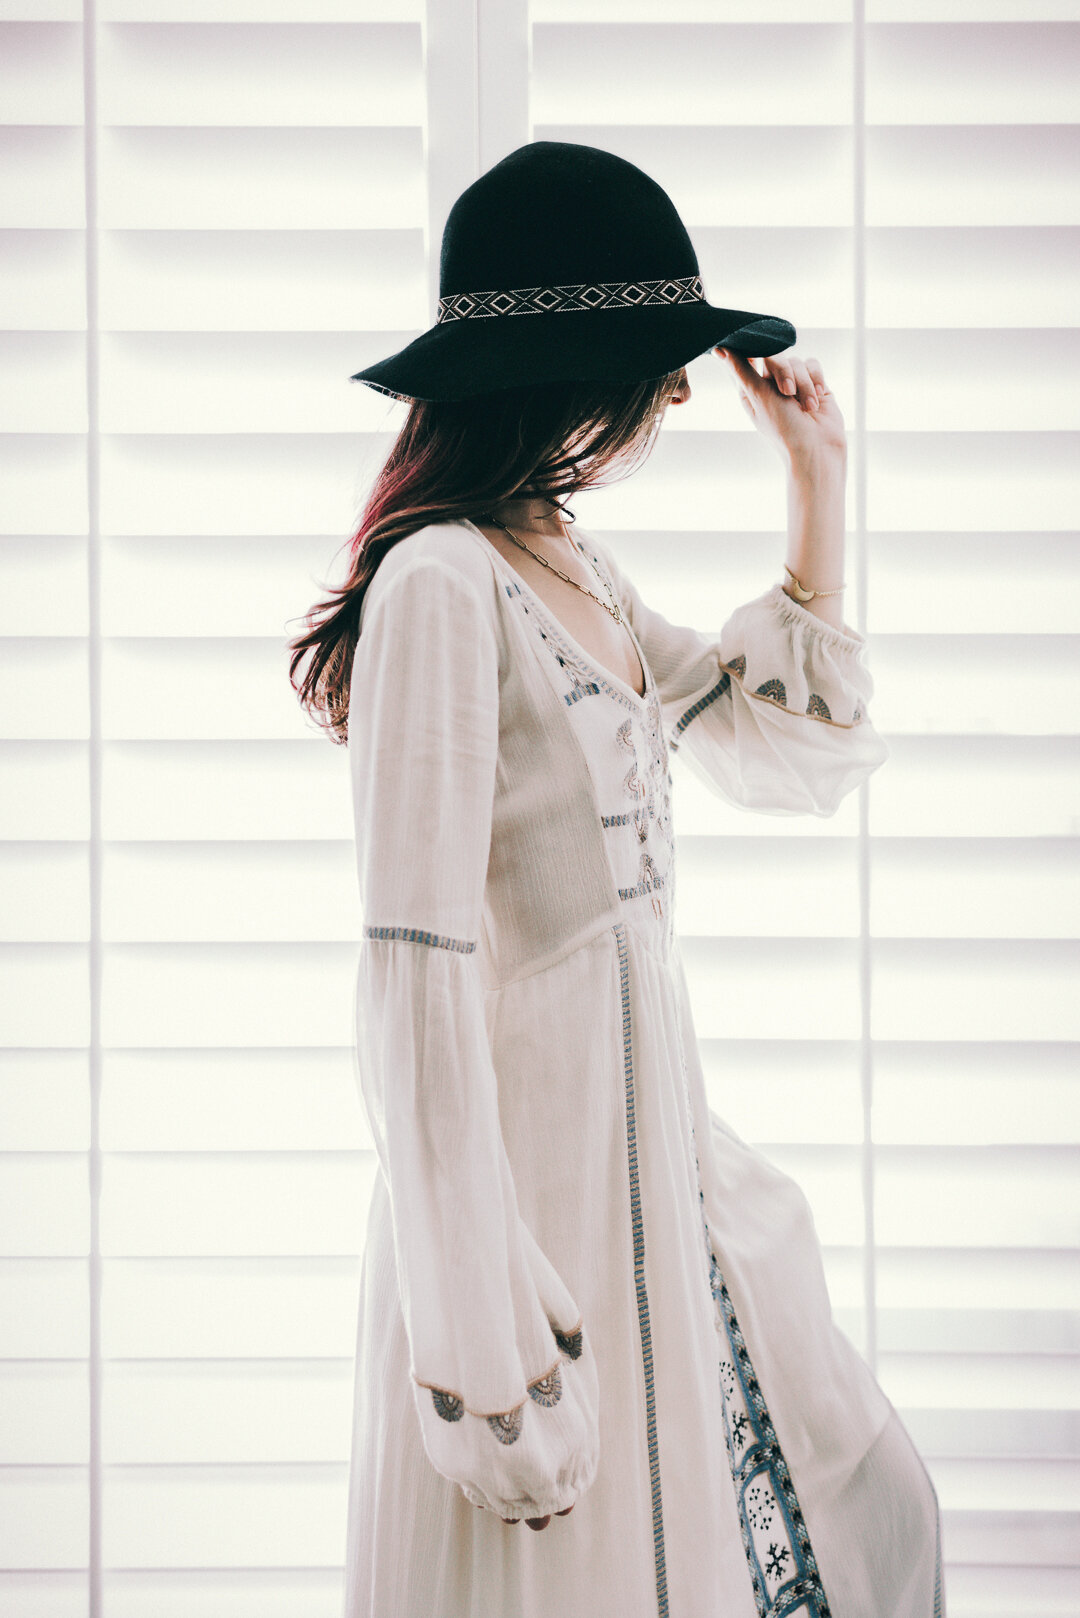
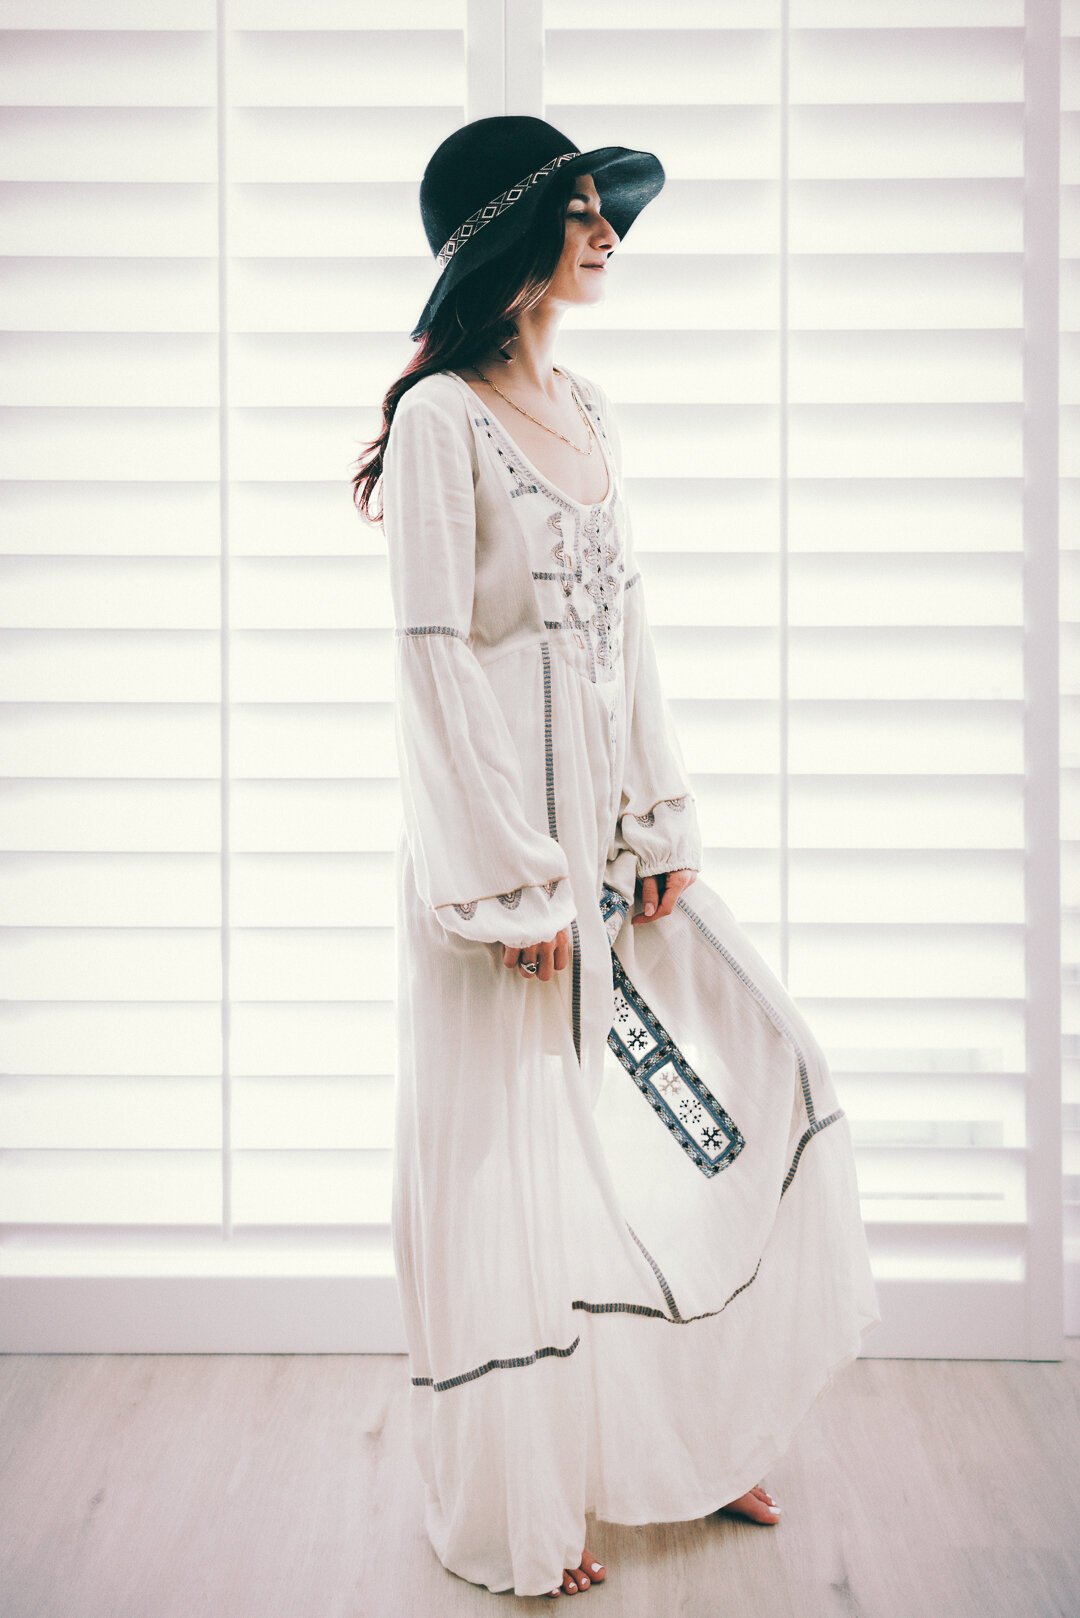
Step 8: You have now maxed out your available options into giving your image the proper exposure and wow, isn’t it beautiful?! If light and airy is your thing, this is going to be your new favorite background.
More helpful tips:
Declutter or remove anything in the foreground and background so there little to no distractions.
Pay attention to the lines in the background and make sure to stay as leveled as possible. Straight lines are soothing for the brain.
White balance trick: you can click on anything white with your White Balance Eye Dropper to find the correct setting in post production, such as, base boards, walls, shutters, sand/stone even (not beige, pure brilliant white).
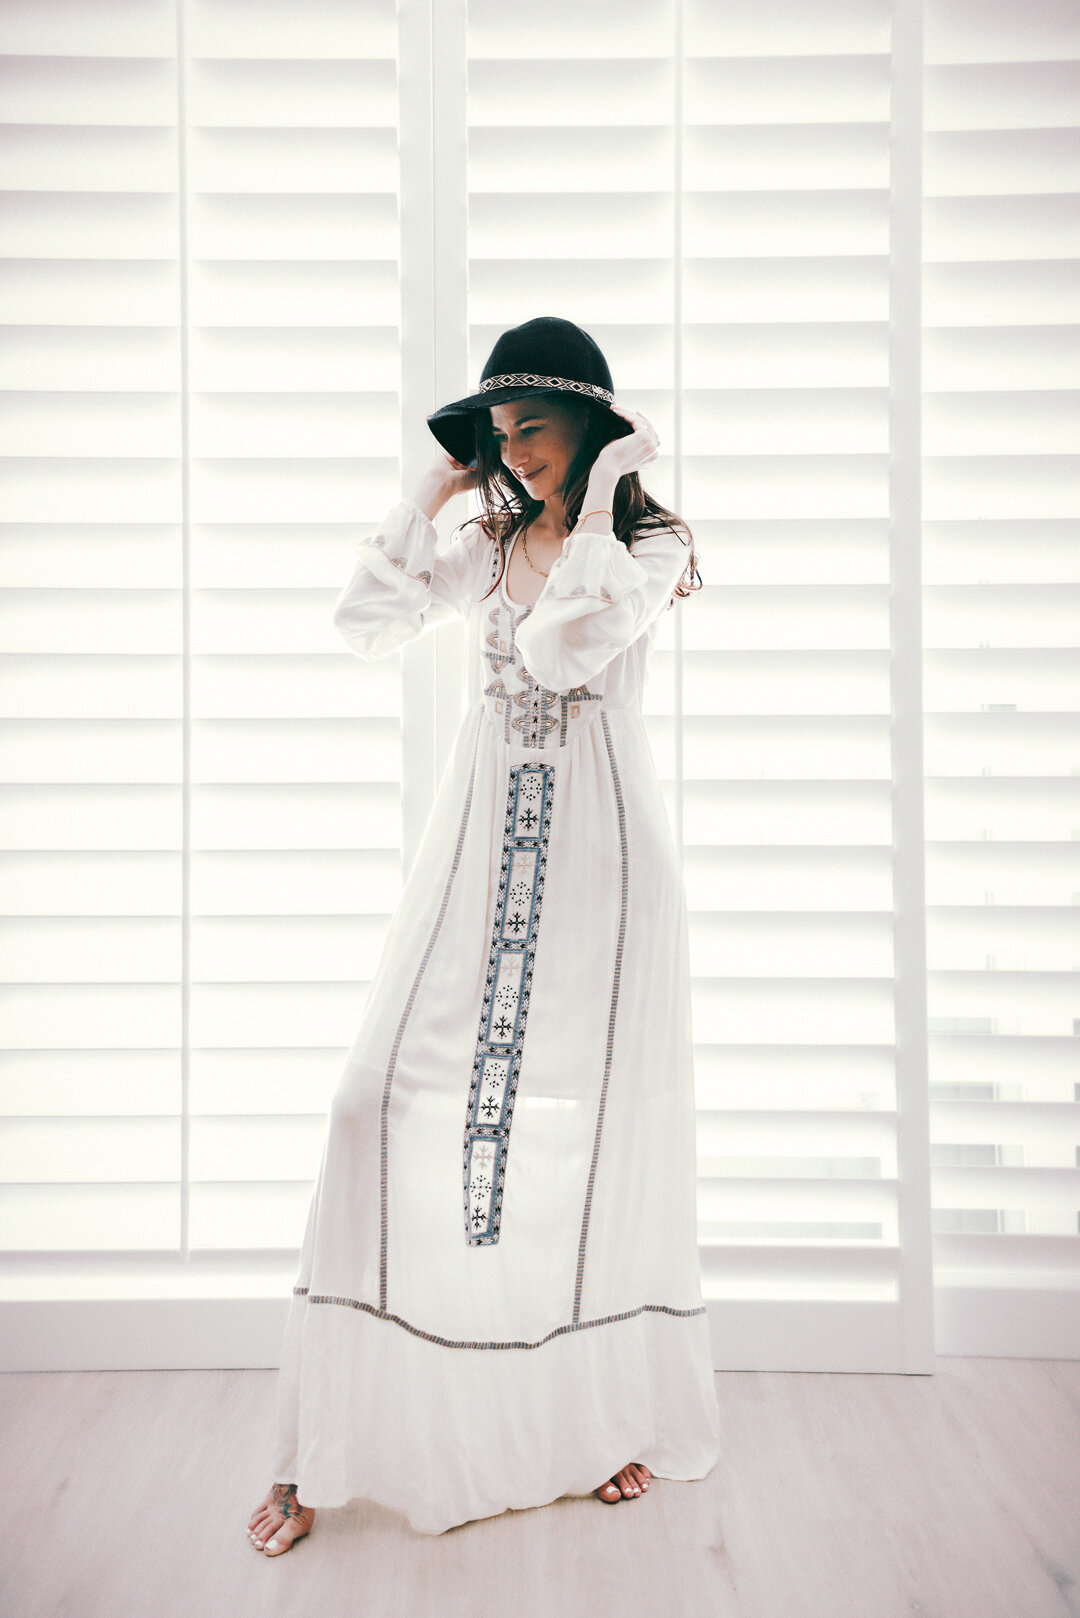


Model: Madison Mizrahi
Location: Delray Beach, Florida.
Camera model: Nikon D750
Camera lens: 35mm